• Home
    • Ravelry
    • About
    • Pattern FAQ
    • Privacy
    • Terms
  • Blog
    • Contact
    • Become a pattern tester
Menu

Rove Handmade

Street Address
City, State, Zip
Phone Number

Rove Handmade

  • Home
  • Patterns
    • Ravelry
  • About
    • About
    • Pattern FAQ
    • Privacy
    • Terms
  • Blog
  • Contact
    • Contact
    • Become a pattern tester

Slow Fashion October 2017 - Care

October 31, 2017 Maria Valles
SFO_17.jpg

To wrap up Slow Fashion October, I’d like to share a few of the ways I make my own wardrobe go the distance. Whether handmade, second-hand or bought new, clothing that is well taken care of lasts longer, plain and simple.

I should start by saying that overall, I'm not too precious about my clothes - I just try to take a common-sense approach to getting the most out of them and making them last. When it comes to laundering, I machine-wash pretty much everything in cold and hang to dry on hangers (partly because of the limited space in our tiny shared laundry room and partly because it’s so easy to just stick them back in the closet once dry). And air drying is so much gentler on clothes than the heat of a dryer, never mind the energy and cost savings.

I also try to wear things at least three times before washing - like many of us, I work indoors so my clothes don't actually get "dirty". If something needs to be refreshed a bit but isn't really in need of laundering, I hang it by an open window overnight or gently steam it. I have a sort of two-week rolling rotation where things get mixed and matched a few times before going in the laundry bin - it's not an exact science, but so far it's working pretty well.

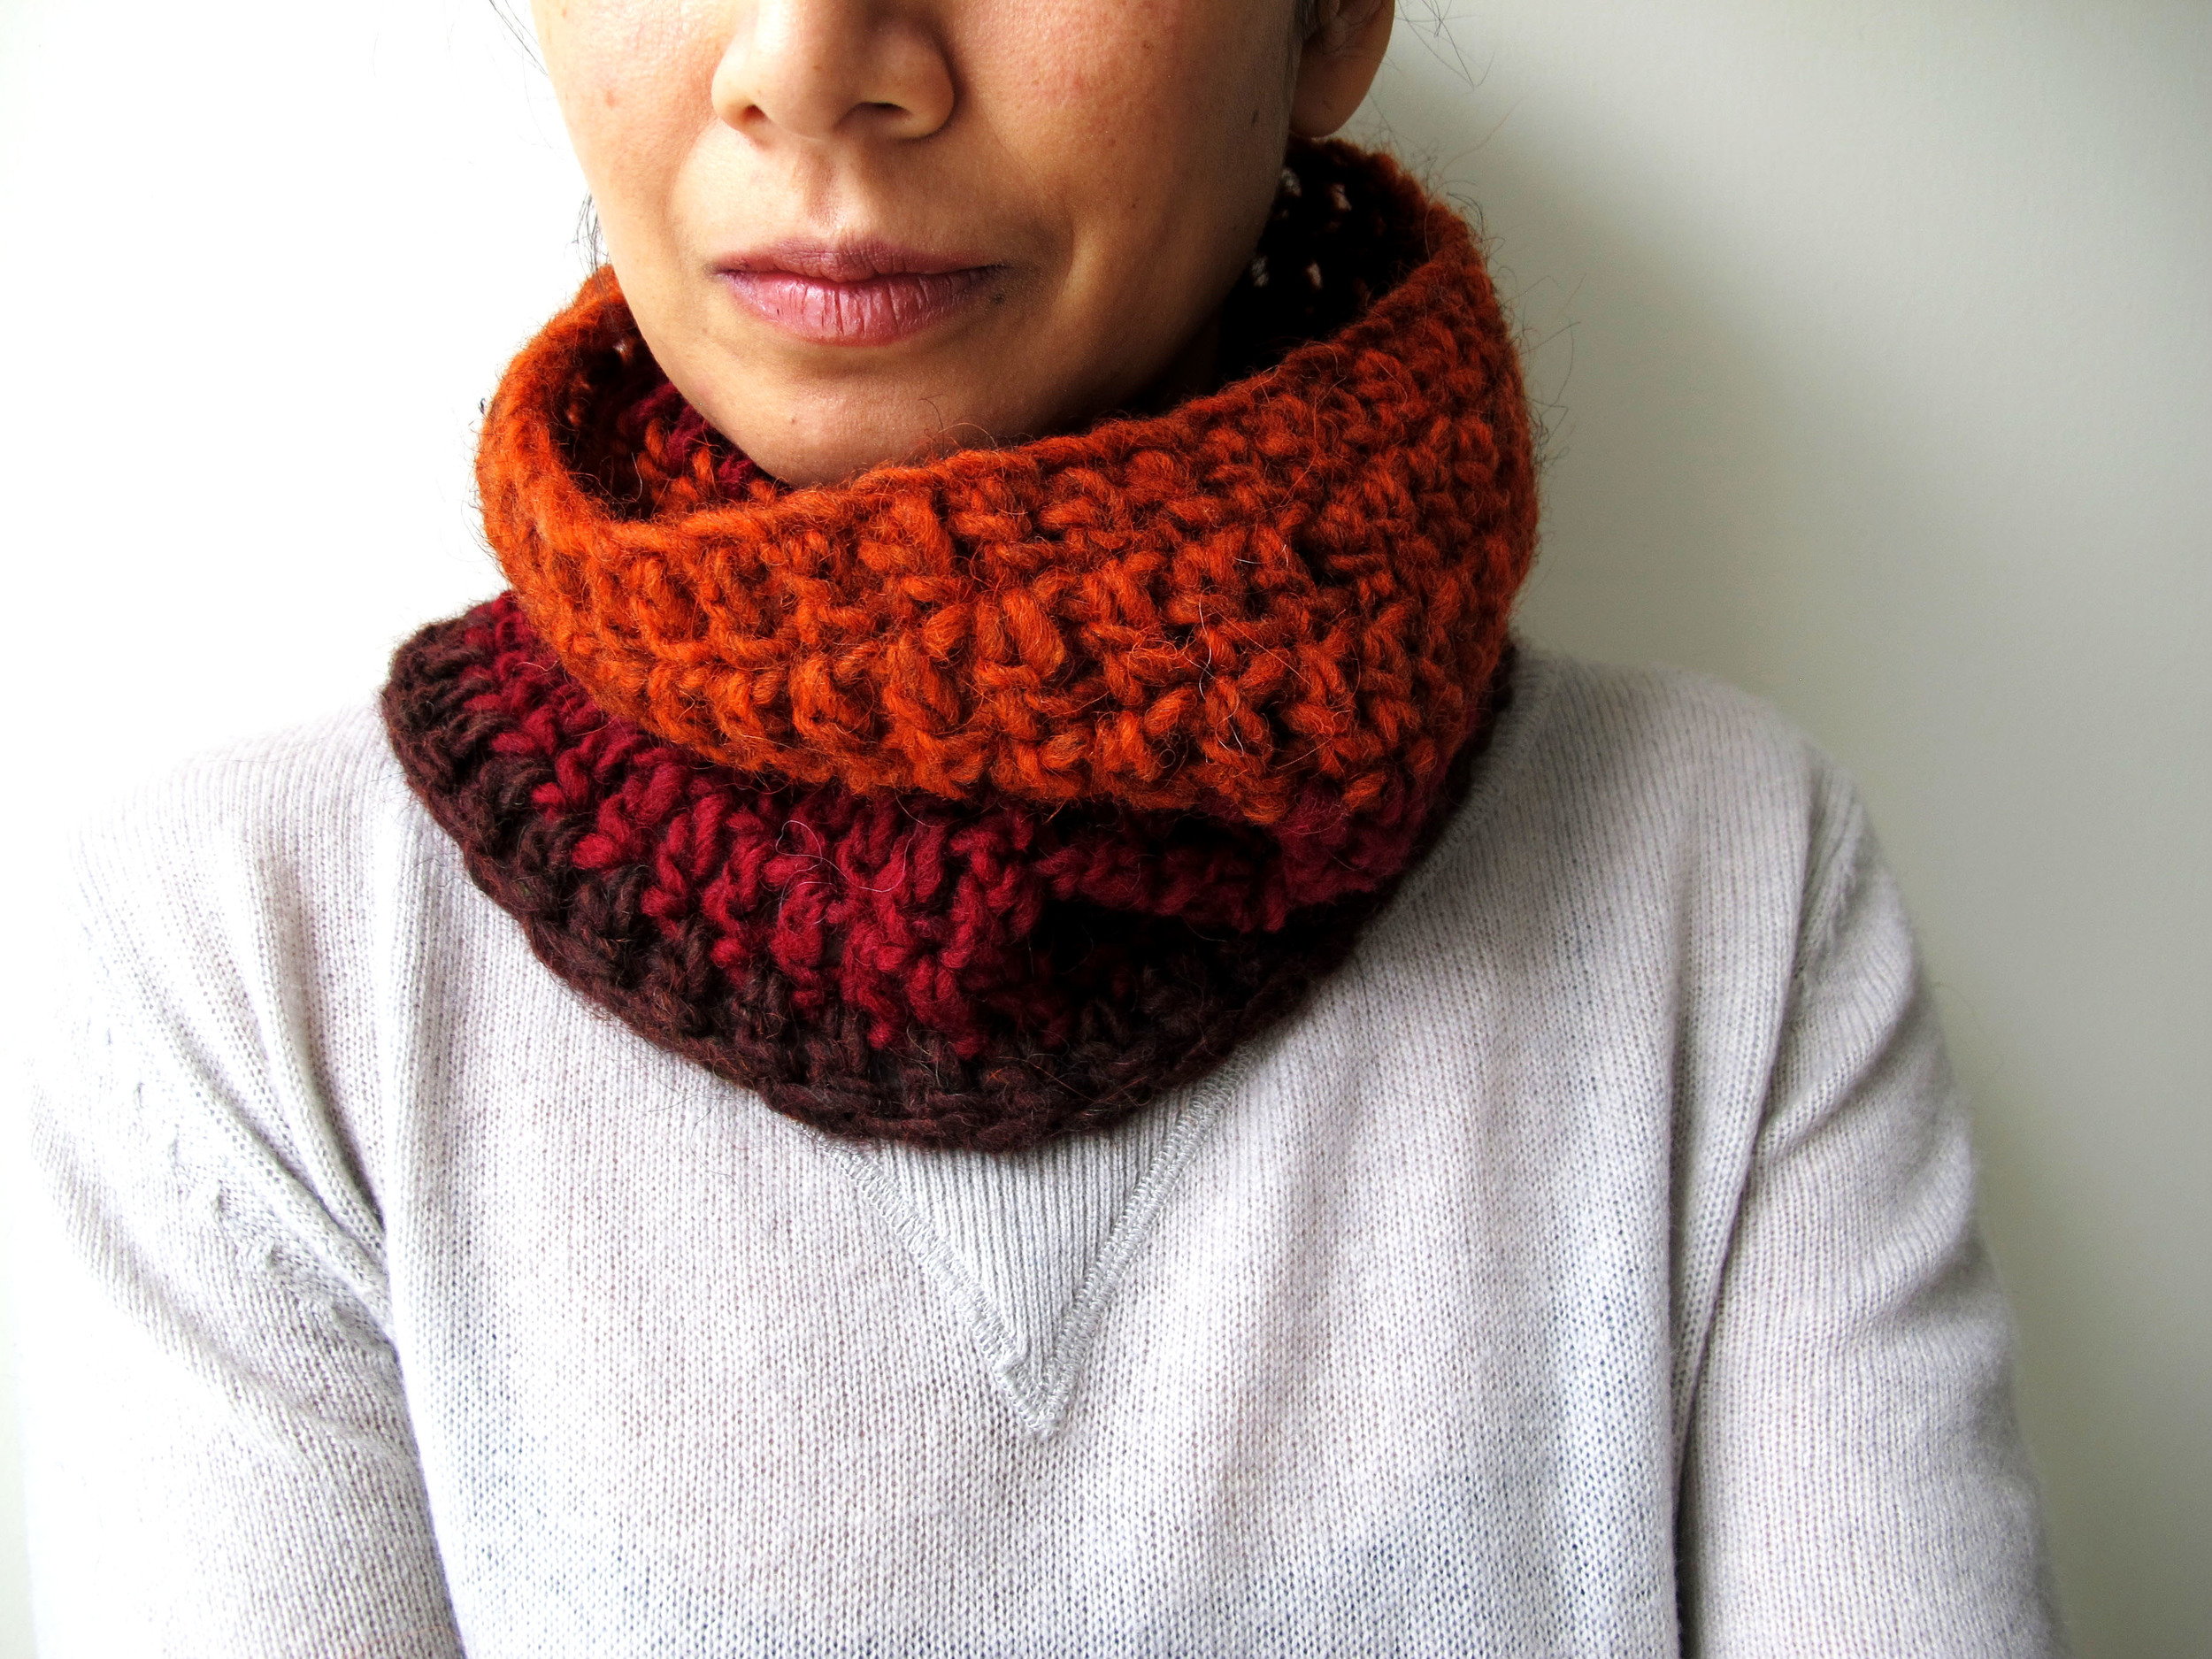
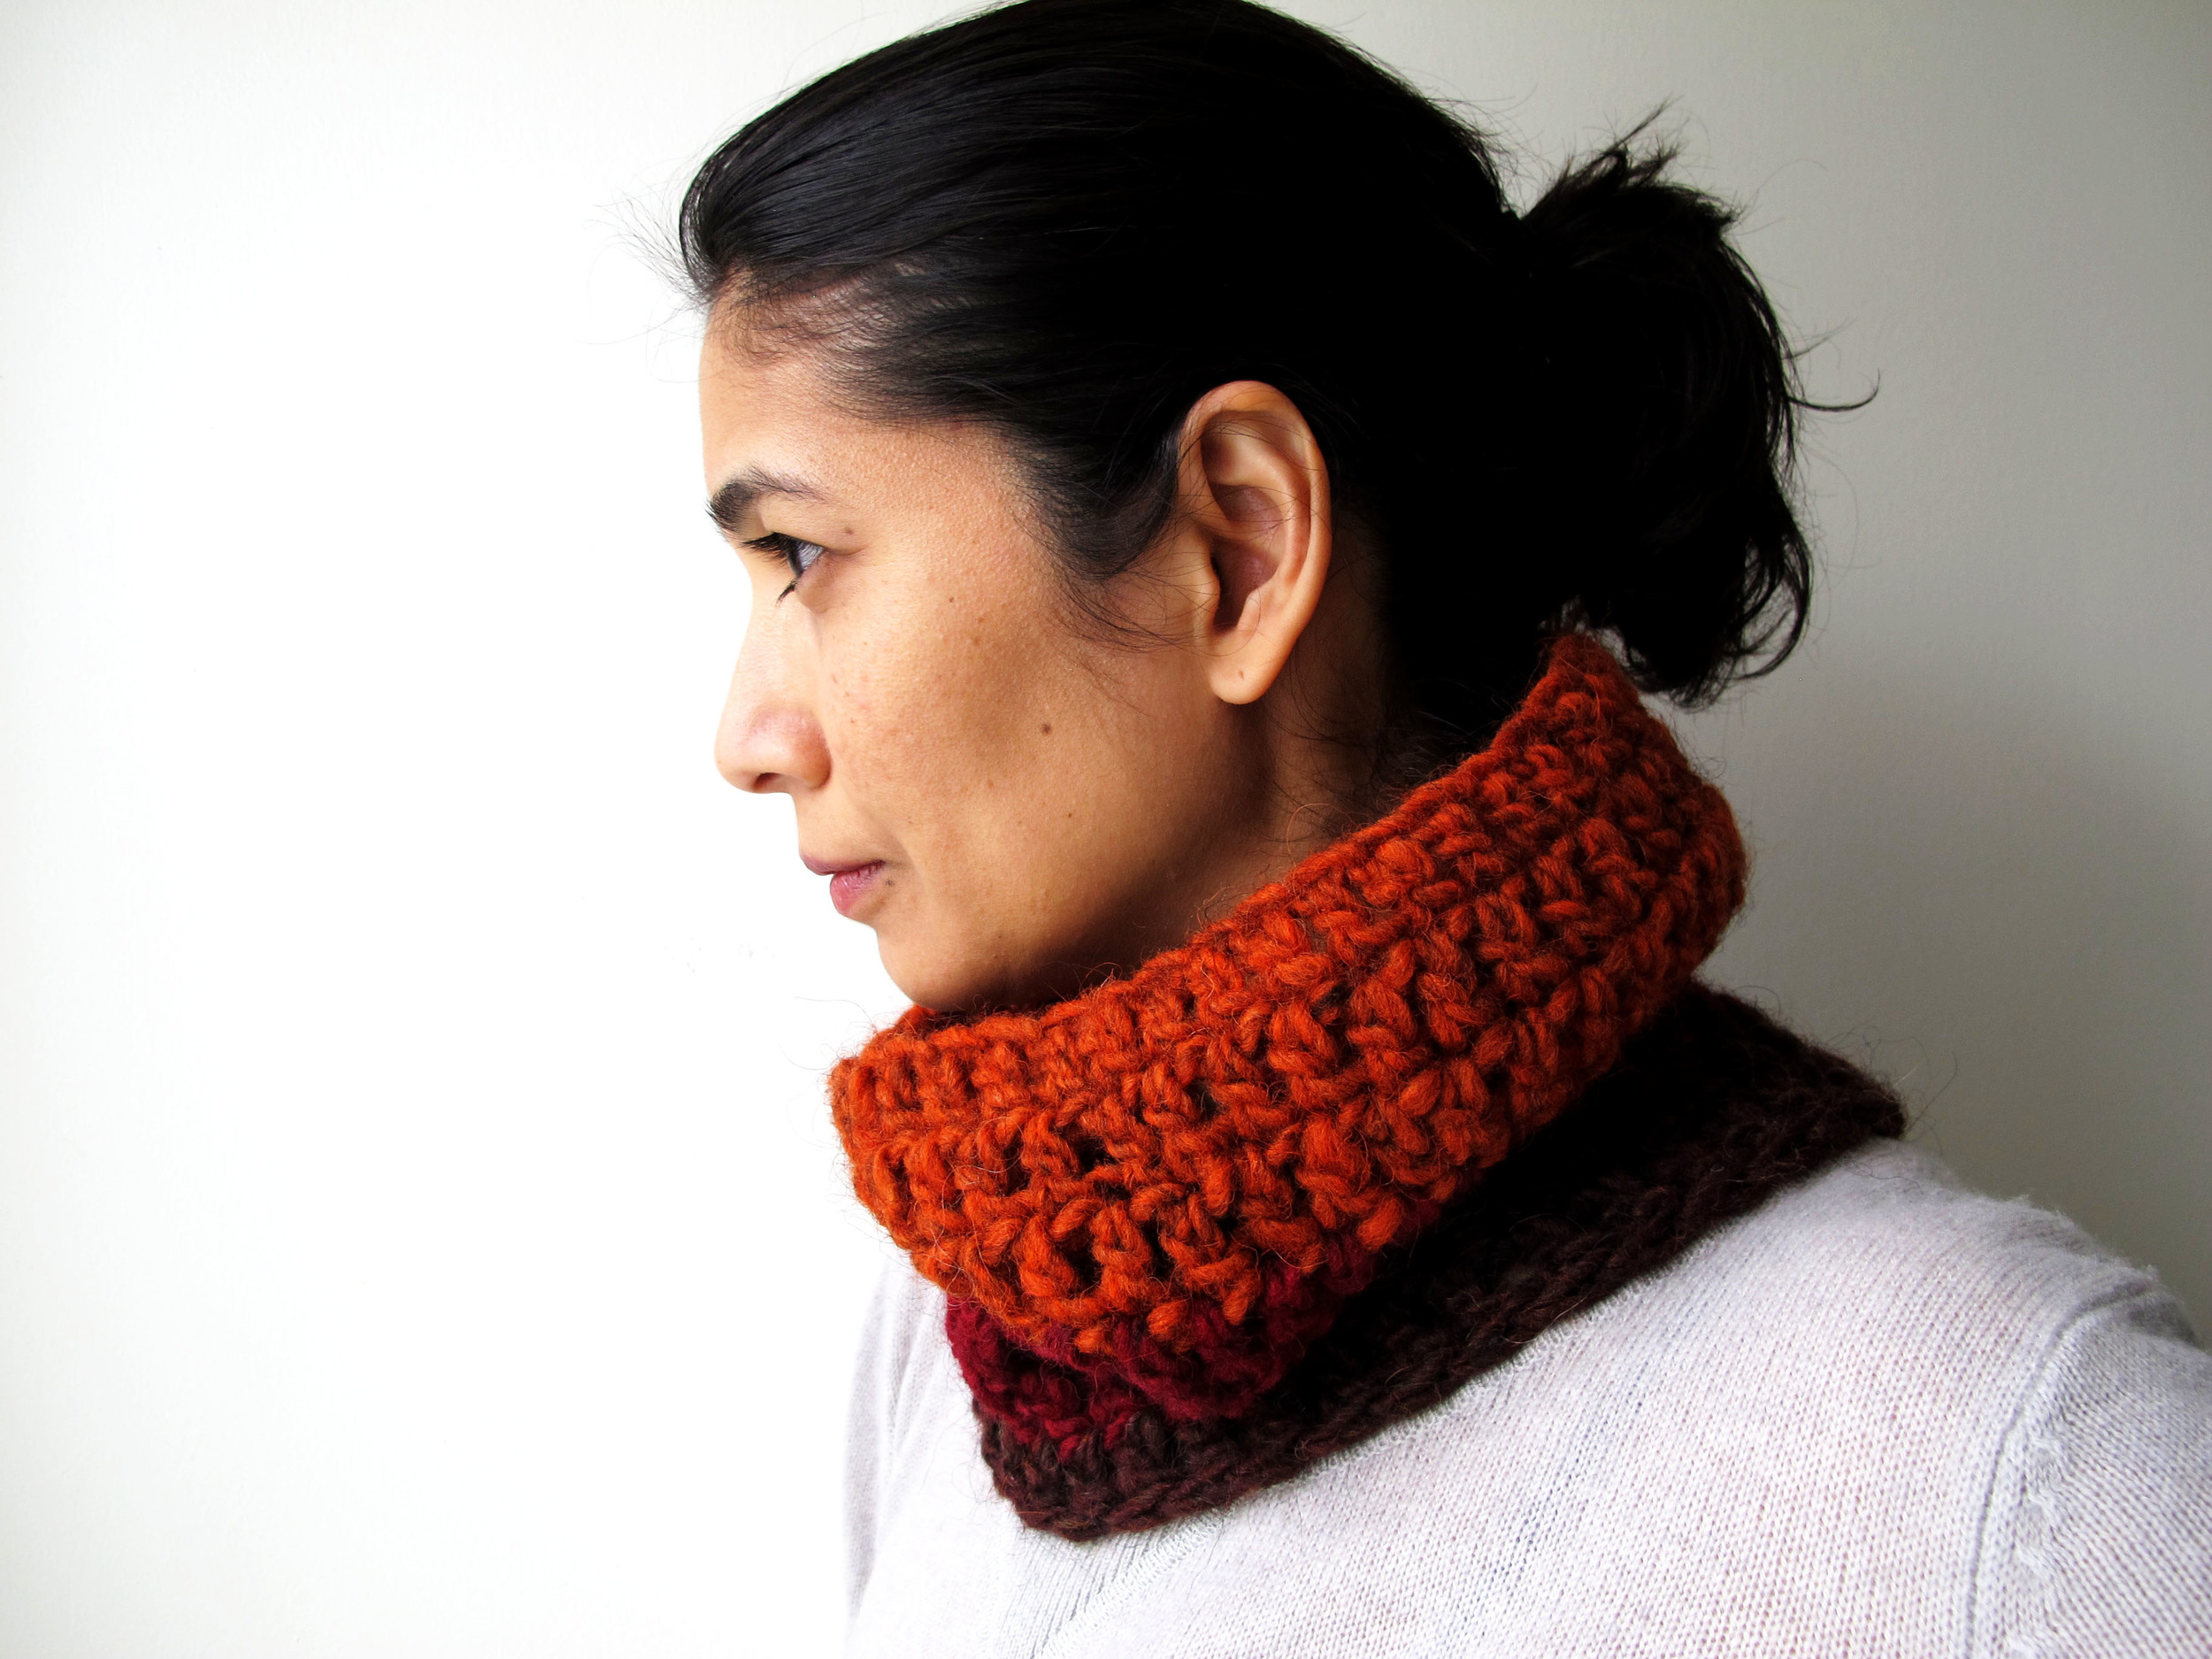
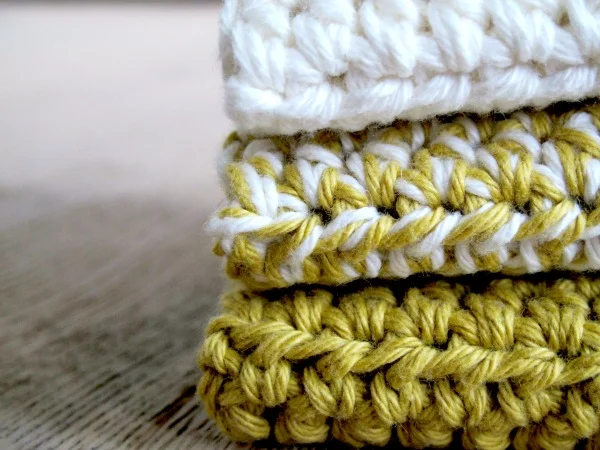
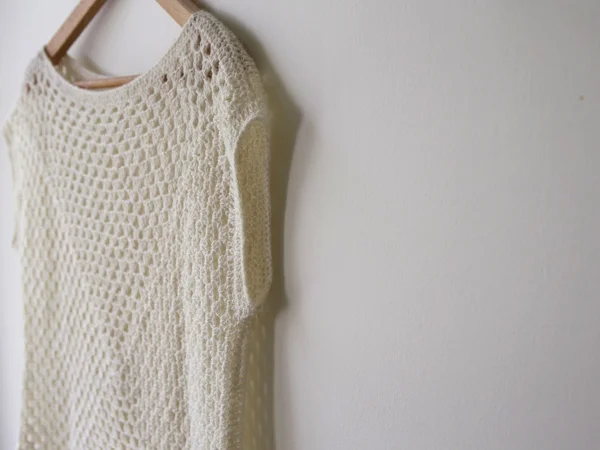
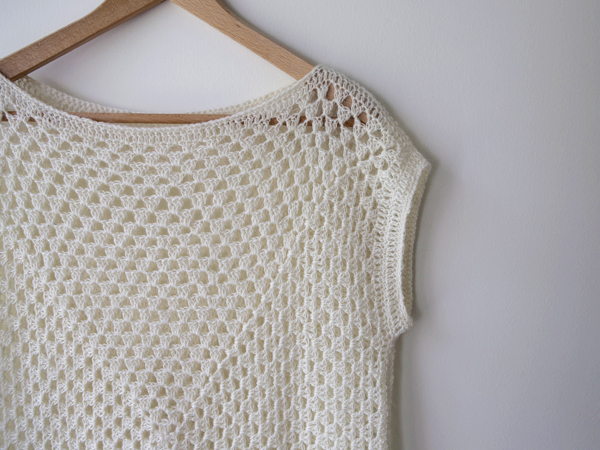
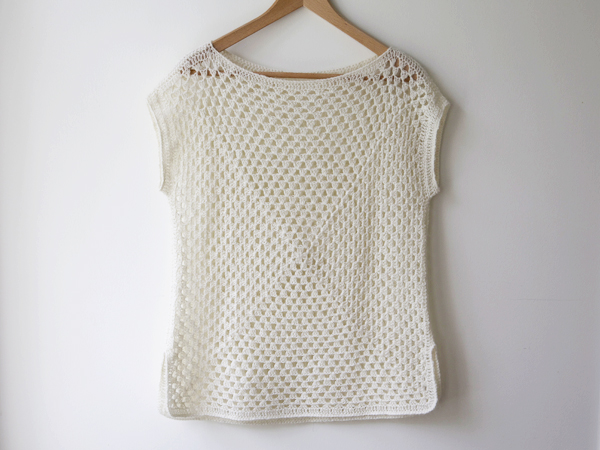
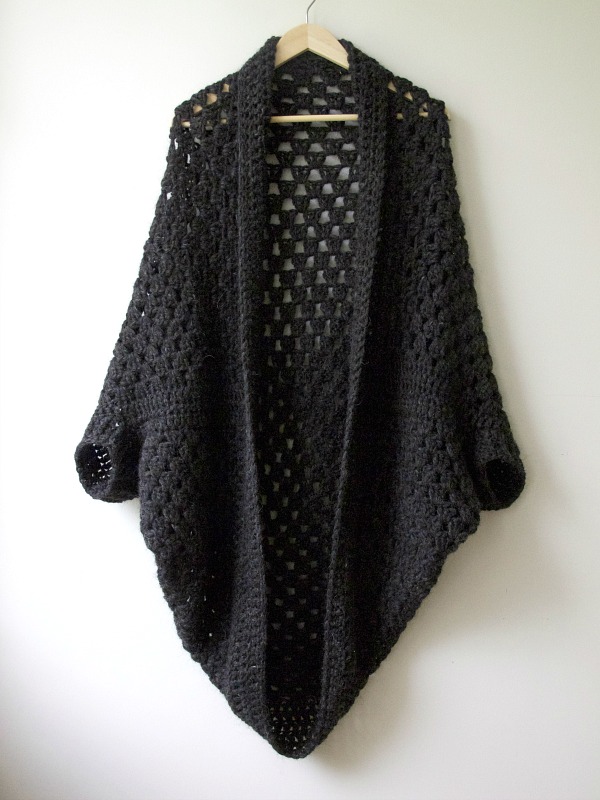
For my handmade knitted and crocheted items, I try not to wash them too often at all - a good airing out (outside if possible) is usually enough to freshen up a woollen sweater and get rid of any odours picked up from the environment. When I do wash my wool, I use the dedicated wool cycle on my washing machine with a very small amount of mild wool soap (such as Lopi Wool Soap), and then lay the item flat to reblock and air dry.

I also highly recommend investing in a battery-operated pill shaver. I got one a few years ago and it has saved so many of my knits (handmade, second-hand and store-bought) from the donation bin (and probably landfill). A good de-pilling combined with the occasional reblocking can take a sweater from tired, pilly and misshapen to completely refreshed and almost new-looking. (You can also use a razor to gently shave off pills, but unless you’re very careful, it can be a little too easy to accidentally cut holes in things… in my experience, at least.)

Dry-cleaning I keep to an absolute minimum - reserved only for coats and heavier items, and usually only once a season when these kinds of things are coming out of or going into storage.

So that's it in a nutshell - pretty basic really and as I said, common-sense ways to stretch the mileage of the things I own.

On another note, my unofficial challenge this month was to wear at least one handmade and/or second-hand item of clothing every day, not including accessories. I’m pleased to say that I managed pretty easily. Now that Slow Fashion October has wound down, I’m planning my winter closet re-organizing session and looking forward to taking stock and seeing what I’ve got with fresh eyes.

And finally, I’d like to thank Karen Templer from Fringe Association for providing this platform for anyone with an interest to explore and share ideas about what slow fashion means to them and how they approach it in their own lives. I’ve been following conversations on Instagram and elsewhere and have enjoyed seeing so many different perspectives. It’s definitely got me thinking even more as I try to articulate my own (sometimes contradictory) thoughts on this important topic and work to become a more conscious consumer and maker.

In How To Tags slow fashion october
Comment

Pixel cowl

May 10, 2016 Maria Valles

I know it's almost summer here in the northern hemisphere, but it's sort of still scarf weather in Iceland and winter is around the corner for our friends on the opposite side of the globe. With that in mind, I figured why wait to start putting my backlog of decidedly autumn-y patterns out in the world? 

The first is a quick little cowl I made a loooonng time ago as a clean-up-my-stash project (you might have seen it here). I call it the Pixel Cowl because the jagged double crochet stripes somehow remind me of a zoomed-in, pixelated image (maybe it's just me, but the name stuck). Using small amounts of Álafoss Lopi and a big hook, it took under an hour to crochet and remains near the top of my list of handmade gift ideas.

Like some of my other how-tos, this is more of a basic "recipe" than a by-the-numbers pattern. The size and placement of your stripes will depend on the amount of yarn you use for each colour, and the cowl is easy to size up or down simply by adjusting the length of the starting chain and/or number of rows. I happened to have a combination of larger vs smaller amounts of yarn on hand, and I really like the look of different-sized blocks of colour. The main idea is to just join the next colour wherever the last one ends without worrying about matching things up, for a jagged, "pixelated" effect. 

The cowl is worked in the round, and the first round is worked into the "bumps" on the underside of the foundation chain - this keeps the edge nice and neat and adds a tiny bit more stretch to the chain. The only tricky bit is joining the foundation chain into a ring without twisting it (you could also start with a foundation dc, but I didn't think of that at the time).

PIXEL COWL

Materials

  • Small amounts of Álafoss Lopi or similar bulky weight yarn in at least 3 colours 
    • I used a total of about 80 g/80 m (3 oz/ 87 yds) and 3 colours.
  • 10 mm hook

Gauge

  • 7 st and 4.5 rows = 10 cm (4")
    • Gauge is not crucial for this project and will depend on the yarn/hook size you're using.

Finished size

  • 60 cm (24") x 23 cm (9")
    • Adjust the size by adding or subtracting foundation chain stitches and/or adding or subtracting rows.

Stitches used

  • Ch - chain
  • Dc - double crochet
  • Ss - slip stitch
    • Note that this pattern uses US crochet terms.

Pattern

Ch 42, without twisting chain, ss into 1st ch to join into ring

Round 1 - Ch 3 (counts as 1st dc throughout), sk 1st ch, dc into the "bump" on the underside of each ch around, ss in top of beg ch 3 to join (42) (see notes below pattern).

Round 2 - Ch 3, dc around, ss into top of beg ch 3 to join (42)

Rounds 3 - 10 - Repeat round 2, joining each new colour wherever the last one ends (42)

Fasten off and weave in ends.

Finishing

I like to wet-block pretty much everything I make in Icelandic wool - it's a rugged fibre and gentle hand washing in lukewarm water with mild soap softens it quite a bit. Roll the washed piece in a towel to squeeze out excess water (but don't wring or twist). Lay flat, reshape to measurements, and let air dry. Turning the piece every once in a while helps to avoid creases, but you can also steam out any creases with an iron once your cowl is dry - just be careful not to place the iron directly on the wool.

Notes on working into the "bump" of the foundation chain

To work into the bump , turn the chain slightly so that the underside is facing up. Insert your hook into the loop or "bump" in the centre and make your stitch. Crochet Me has a great post about different ways of working into the foundation chain here.

Hope you enjoy your Pixel Cowl!

In How To Tags Pixel cowl, patterns, free pattern
3 Comments

Simple cloth

November 21, 2015 Maria Valles

I made a bunch of these simple little dishcloths/washcloths and I am becoming addicted. Packaged up with some handmade soaps, these are going to make really cute little gifts come Christmas (which is only 33 days away!). I used half-double crochet stitches, double-stranded, and got 4 cloths out of two 50 g skeins of Anna and Clara's Cotton Yarn from Sostrene Grene, which is a fingering weight cotton yarn. I especially love the marled effect of using two contrasting yarns together.

Here's the basic pattern below:

Simple cloth

Materials:

  • 2 skeins fingering weight cotton yarn in contrasting colours of your choice
  • 4 mm hook
  • Yarn needle

Gauge:

Approx. 14 st x 11 rows = 4" (10 cm)

Finished size:

Approx. 7" x 7" (18  cm x 18 cm)

Pattern:

Holding two strands together, ch 26.

Row 1: Make 1st hdc in 3rd ch from hook, hdc each ch to end, turn (24)

Row 2: Ch 2 (counts as 1st hdc throughout), hdc across, turn (24)

Row 3 - 18: Repeat Row 2 (24)

At the end of the last row, ch 10, ss into same st to make a loop, fasten off.

Weave in ends.

And there you have it - a simple, useful little cloth that can be used as a dishcloth, washcloth, or even a trivet, and works up so fast you'll want to make them for everyone you know (and a few for yourself too).

In How To Tags free pattern
4 Comments

Amma - granny square top

September 12, 2015 Maria Valles

Here at last is the recipe for my granny square top, which I'm calling "Amma" because it's Icelandic for "Granny". I finished this top in August, just in time for the last days of summer, and have worn it twice since then (you can see it in action on Instagram). I absolutely love it and it's such a great feeling to wear something you made yourself.

This top is super simple - just two granny squares joined together - and has a loose fit that skims the body - not too clingy and not too boxy. I made this to fit me and it's about 40" in total width. To make it in your preferred size, use your hip or bust measurement (whichever is larger) + desired ease (I added about 2"), divided by 2 as a guideline for the size of your squares.

Example: To fit hip 38" + 2" ease, use 40/2 = 20. Each square should measure 20".

The yarn is Álafoss Einband, which is an Icelandic lace-weight wool. It's light but also warm, just right for Iceland's cooler summers. If you plan to make this for warmer climates or you don't like wool, something like linen might be a good substitute. If you do choose Einband, note that it feels a bit coarse when you're working with it, but it softens after blocking. It also stretches when washed, so it's always best to do a swatch first. Swatching is definitely recommended if you're substituting another yarn.

MATERIALS

3 skeins Álafoss Einband lace-weight wool (50 g/250 m per skein)

3.5 mm crochet hook or size needed to obtain gauge

Yarn needle

Stitch markers

GAUGE

5 rounds of granny square = 4" 

STITCHES USED

st - stitch

ss - slip stitch

sc - single crochet

dc - double crochet

ch - chain stitch

INSTRUCTIONS

Granny square (make 2)

Make a traditional granny square in whichever way you like doing them. I like the method below:

Make a magic ring 

Round 1 - Ch 5 (counts as 1st dc + ch 2 throughout), 3 dc into ring, *ch 2, 3 dc into ring*, repeat from * to * once more, ch 2, 2 dc, ss into 3rd ch of beginning ch 5 to join, and pull on the yarn tail to close the ring tight.

Round 2 - Ss into ch 2 sp, ch 5, 3 dc into same space, *ch 1, (3 dc, ch 2, 3 dc) into next ch 2 space*, repeat from * to * two times, ch 1, 2 dc in last ch 2 sp, ss into 3rd ch of beginning ch 5 to join.

Round 3 - Ss into ch 2 sp, ch 5, 3 dc into same sp, *ch 1, 3 dc into next ch 1 sp, ch 1, (3 dc, ch 2, 3 dc) into next ch 2 sp*, repeat from * to *  two times, ch 1, 3 dc in ch 1 sp, ch 1, 2 dc in last ch 2 sp, ss into 3rd ch of beginning ch 5 to join.

Repeat Round 3, making 3 dc into each ch 1 sp and (3 dc, ch 2, 3 dc) into each ch 2 corner sp for 21 more rounds or until your square is the desired size.

Round 25 (or last round) - Ss in ch 2 sp, ch 3 (counts as 1st dc), dc in same space, dc evenly all the way around, making 3 dc in each ch 2 corner sp, end with 1 dc in last ch 2 sp, join with ss to top of beginning ch 3, fasten off.

Joining

Here is a very basic schematic to give you the general idea. Adjust measurements as needed.

Here is a very basic schematic to give you the general idea. Adjust measurements as needed.

Lay your squares one on top of the other with the right sides facing each other. At the top edge, place a stitch marker approximately 4"* from each side edge to mark the shoulder seams and neck opening. *Or desired shoulder seam length.

From the shoulder, place a marker approx. 7.5"* down each side for the armholes. *Or desired armhole depth.

For the side slits, place markers approximately 4" up from the bottom on each side.

Join the shoulder seams and side seams together using your preferred method. I'm impatient, so I just did a sc join. If I were making another one, I might whipstitch it for a less bulky seam.

Note: You can block your squares before joining them, but once again I was too impatient. I blocked my piece after it was done and that seemed to work out fine for me.

Neckline

Round 1 - With right side facing, join yarn in one corner of the neck opening, ch 1, sc in each st around, join with ss to 1st st.

Round 2 - Ss in each st around, ss into 1st st to join, fasten off.

Sleeves

Round 1 - With right side facing, join yarn at the seam at the bottom of one armhole, ch 1, sc in each st around, ss into 1st sc to join.

Round 2 - Ch 3, dc around, ss into top of beginning ch 3 to join.

Round 3 - Ch 1, sc in each st around, ss into 1st sc to join.

Round 4 - Ss in each st around, ss into 1st ss to join, fasten off.

Repeat for other sleeve.

Hem

Round 1 - With right side facing, join yarn at the seam in one side slit, ch 1, sc evenly around hem making 3 sc in the centre st of each 3 dc corner, ss into 1st sc to join.

Round 2 - Ss in each st around, making 3 ss in the centre sc of each 3 sc corner, ss to 1st st to join, fasten off.

Finishing

Weave in ends and block to size.

Note: I gently washed and hung my top up to dry, letting gravity do the work to stretch and lengthen the piece. This might not work with a different yarn though.

I hope you like this simple little top as much as I do - enjoy!

In How To Tags Amma, granny square top, Icelandic wool, einband
65 Comments

Granny cocoon shrug part 2

March 14, 2015 Maria Valles

Way back in September I wrote about this shrug that I made. It got an incredible response (thank you to all who commented!) but also a lot of questions. I realize that the original post was a bit vague, so I thought I'd do an FAQ and basic "recipe" here to answer some of the most common ones and provide some basic step-by-step instructions to make your own. Here goes:

What kind of yarn can I use?

I used two strands of single-ply unspun Icelandic wool (called plötulopi), which is about the equivalent of worsted weight. But because I used a larger hook - 7 mm - and there is some "air" in this yarn, it sort of puffs up to almost a bulky weight when worked up with the bigger hook.

I'm pretty sure you could use just about any yarn as long as it gives you the drape you want. I suggest experimenting by making swatches in different yarns/hook sizes to see what you like the best.

How much yarn did you use?

I used about 440 g/1320 m of the plötulopi but the amount will depend on the yarn and hook size you are using. Bear in mind that I crocheted two strands together, so that doubled the amount I would have used with only one strand.

What stitch is used?

My shrug is made from a granny square, which consists of double crochet (dc) stitches and chain (ch) stitches. Note: I did not ch 1 between my granny clusters because I wanted smaller "holes" between them. Since I was using a larger-than-recommended hook size (7mm), this worked out fine. 

Here is a great tutorial for how to make granny squares.

Did you make your square lengthwise or in rounds?

I made a traditional granny square in rounds.

How big was your square?

My square was about 105cm in width/length. 

Do you have a pattern?

There is a PDF pattern available for purchase here, which includes five sizes, schematics and an option for long sleeves, as well as notes on further customization. Below is a basic "recipe" for one size (fits approx M/L) that you can use as a starting point to experiment on your own:

Granny cocoon shrug basic recipe:

Step 1: Make a granny square about 105 cm (41 inches) in width/length. The number of rounds and yardage needed to get the size will depend on the yarn and hook size you are using. For the last round of your square, dc evenly all the way around. Fasten off.

Step 2: Fold your square in half to form a rectangle, with the "wrong" side facing out. Sew up one of the short sides (or use a sc or sl st join), stopping about 18 cm (7 inches) before the fold to form the armholes. Fasten off. Repeat on the other side.

Step 3: Turn your piece right-side out. If you lay it out, it should now look something like a diamond, with a long opening at centre front, the seams running horizontally across each side, and two smaller openings on each side (the armholes).

Step 4: Collar: With right side facing, join your yarn at centre front at one of the seams. Ch 3, then dc evenly all the way around. Join with a sl st to the top of your first ch 3, turn and dc all the way around again. Repeat two more times for a total of four rounds of dc. Next, ch 1, turn and sc evenly all the way around to finish. Fasten off. 

Step 5: Sleeves: With right-side facing, join your yarn at one of the armholes, then ch 3 and dc evenly all the way around. Join with a sl st to the top of the first ch. For the next round, do not turn. Ch 3, *front post dc in the next st, dc in the next st*, repeat * all the way around, alternating front post and regular crochet stitches and ending with a front post dc in the last stitch. Join with a sl st to the top of the first ch 3. Repeat for one more round. Fasten off. Repeat all of step 5 for the other sleeve.

Here is a tutorial for how to do front post double crochet.

Step 6: Weave in all your ends and enjoy your shrug!

One last thing I had to share - check out these gorgeous tiny versions of the shrug by hannajaleijonamade. They are so adorable and beautifully done!

Also, Nadia over at YARNutopia created a fabulous step-by-step video tutorial for making the shrug. I encourage you to check it out!

In How To Tags granny cocoon shrug
178 Comments
Older Posts →

Hello and welcome! I’m Maria Valles, a designer-maker from Canada who calls Reykjavík, Iceland home and has developed a lasting love affair with Icelandic wool, known as lopi. Endlessly inspired by my surroundings and the wool that is grown and prod…

Hello and welcome! I’m Maria Valles, a designer-maker from Canada who calls Reykjavík, Iceland home and has developed a lasting love affair with Icelandic wool, known as lopi. Endlessly inspired by my surroundings and the wool that is grown and produced here, I am the head and hands behind Rove Handmade.


Subscribe

Sign up with your email address to receive news and updates from Rove Handmade, and be the first to hear about upcoming releases, promotions, events, and more.

We respect your privacy.

Thank you for signing up! To receive Rove Handmade’s newsletter, please check your email to confirm your subscription. You can unsubscribe at any time by clicking the Unsubscribe link at the bottom of any newsletter emails you receive from Rove Handmade.


INSTAGRAM

Slow fashion Sunday #plötulopi #grannysquare
Replenishing #plötulopi #einband
Lazy day
Sunday
Home sweet home. New post on the blog
Saturday stash-busting #grannysquares #wip
Bolludagur 😃 #creampuffday #brauðogco
Big blue sky on this morning’s walk
Very pleased with my happy scrappy runner, which used up almost all of my cotton stash yarn 😀

  • How To
  • Making
  • Patterns
  • Shop

About

Patterns

Blog

Contact

Become a pattern tester

© Rove Handmade | All rights reserved